Showing posts with label Shells. Show all posts

Friday, February 3, 2017

12 Days of Valentine's Day starts Feb 3rd

When's the last time you knew you were going to have fun for 12 days straight?  
I know, we don't often look at things that way, and that is precisely the beauty of celebrating the "12 Days of Valentine's Day".  It's a time when you do little things to show love for family, friends and while you're at it, yourself. Wear pink one day, make a cake, put out red place mats - everything counts when you are celebrating the fact that you love a lot of people. 

There is no set schedule; Nor is there a "number" relationship, meaning you don't have to sneak 10 Hershey kisses into a loved one's pocket just because it is Day 10 (but what a great idea!).  Nope, you just do what feels right (and fits into your schedule) on any particular day leading up to Valentine's Day.  When someone compliments your pink scarf, just smile and say that its in honor of the 12 Days of Valentine's Day.  If your neighbor questions your sudden gift of 6 muffins, cite your inspiration, The 12 Days of Valentine's Day.  Have fun with it.

Remember, this is a gift of the heart, so any gesture, no matter how small, will be appreciated.  If you type valentines into the search box at the top/right of my Moments Of Delight blog, you'll see lots of Valentine's posts from prior years. Have fun!

*This is my beautiful heart-shaped shell covered box. I have it on display this month in my living room. A small treasure with a big message.

Friday, April 3, 2015

Collecting Shells: White Chocolate Treats You Can Eat

Look at my beautiful collection of shells. I mold each one, dusted it with edible luster and set it on a bread-crumb covered tray. Pretty realistic, isn't it?

Oh yes, these are candy. Each shell is made of white chocolate.
The process is as easy as can be. You'll need a bag of white (vanilla flavored) Wilton Candy Melts and plastic candy molds in different shell shapes.

Now you simply follow the instructions of the candy discs to melt them in the microwave - I put a cup of them in a Ziploc bag and microwave at intervals of 10 seconds, kneading the bag in between.  Once the candy is smooth and pour able, snip a small corner of the bag off and pipe into the molds.  I use a flat plastic scraper to wipe off the excess chocolate and leave a smooth flat back to the candies.  Then holding the mold just above the counter top, gently tap-tap-tap the filled mold on the counter over and over again and watch the bubbles rise and break on the surface of the chocolate.  This removes the bubbles and helps the chocolate to flow into the intricate detail of the mold.  

Keeping it flat, place mold in the refrigerator for 10 minutes to set the candy. Then remove from the refrigerator and hold it over a cookie sheet gently flip it over so that the candy falls onto the cookie sheet.  If any of the pieces don't fall out, twist the mold slightly and they should release.

Dip a paint brush into the edible pearl luster dust and gently brush it over the white chocolate to add a lovely light color. 

When I am going to serve them on a cake or cupcakes, I use graham cracker crumbs as my sand. I don't have any graham cracker crumbs in the house, and since I am enjoying them as edible art, I arranged them on a platter of bread crumbs. It looks just as realistic, don't you think?

Monday, November 4, 2013

Shell Wall Art

If only I'd had my wits about me, I would have scooped up one of these beautiful shell screens when I was at the Aloha Stadium swap meet in Honolulu.  We went to this swap meet several times (fresh coconut, gorgeous pearls, ukuleles -I was in heaven!) and in the down-by-the-sea setting of Hawaii, I became numb to how unusual these shells screens were. Real shells have been drilled and hung from a rope lattice, making the prettiest grid possible.  Hindsight is 20/20 and I wish I had inquired about the screens and bought one for myself! 

I would love this beachy touch in many coastal living scenarios:

  •  as art above a desk
  •  as a screen between living spaces in a small cottage
  •  on the wall of an outdoor shower
The possibilities are endless.  Do you remember when I was able to live with my friend in Hawaii for almost a month?  You can read more posts from that magical time in the blog sidebar - click "Honolulu" and "Hawaii" under City Series and all the posts labelled with that region will appear.  

I was invited to live with my friend and her husband and I took at leap and left the mainland for 3 1/2 weeks.  I loved it.  Calm breezes, tropical fruit and water in every direction.  Aloha!

Friday, August 24, 2012

A Scrap of Paper

The design on this paper works so perfectly with my heart-shaped shell box, that it is actually difficult to see where the box ends and the paper begins.  Isn't that interesting?  I wouldn't have believed it was possible, if I hadn't seen it myself.  My own little Modern Doily made with one sheet of scrapbook paper.

You know that I love to use scrapbooking paper in vignettes when I decorate (see my Sweet Halloween tablescape here) but the great thing about this post is that the sheet of paper was part of my birthday present from my friend, Angie!  I didn't even choose the paper design and it still works perfectly with some of my treasures.

This is where I will advocate "walking around your house carrying the object you want to incorporate into your design."  I'm sure that quote won't trip off the tongues of the HGTV hosts anytime soon.  But I am serious!  You will never know how something will look (or what it will look good with) until you experiment.  I would never have put some of my shell boxes with this paper if I hadn't seen them near each other.  

The white shell box actually got my attention first.  I realized that the white flowers and dark background would make the little box seem delicate sitting on top of the fabric-like print.  When I added another shell box to try and fill up the empty space, I was shocked at how the colors blended together.  It's gorgeous!

I have this pretty vignette on a black coffee table in between two candlelight white love seats.  It is a delightful conversation piece.  Thanks, Angie!

Wednesday, April 25, 2012

Shell Frame with Vintage Photograph

So sweet!  I couldn't be happier with how my shell-covered frame turned out.  I had seen some "diamond" encrusted frames with real shell accents once when I was in Florida and I wanted to try my hand at this kind of embellishing.

I bought a simple antiqued frame at Homegoods and used a strong clear-drying glue (that works with metal) to glue an edge of clear round plastic rhinestone trim (available by the yard at Joann Fabric). 

Then I arranged different shells and pearls (you can buy a bag of small shells at Michaels craft store, as well as Joann Fabric) along the bottom of the glass on the frame, overlapping them until I liked the effect.  Then I glued them in place.  A puffy sand dollar, a pink gem and a pearl finished the look in the upper right corner. 

Doesn't this make the perfect frame for a vintage wedding photo?  I think that this would make a great anniversary present.  A few simple steps adds a touch of delight.

Monday, April 9, 2012

Palm Beach-style Cheesecake

You've heard of New York-Style Cheesecake, right?  Well, I call this cheesecake, "Palm Beach-Style" because of the shells!  Don't you love it?

I worked backwards on this one.  I wanted a dessert to highlight the realistic look of the shells, so I needed something that I could pile graham cracker crumbs on to look like sand.  Cheesecake was the the natural choice! 

It all started when I wanted to make white chocolate shells, so I visited a cake and candy supply store in Florida and bought several different shell molds

My niece and nephew were visiting Florida this week too and together we molded the white chocolate discs into shells (melt chocolate discs in microwave, pour into molds, tap on counter repeatedly to allow bubbles trapped in chocolate to rise and pop, harden for 5 minutes in freezer, unmold - it's that easy!).

Then I decided that I wanted to try giving them a soft color sheen with edible pearl dust.  The shells shown here are made using Bronze, Gold, Pink and Lilac pearl dust.  Simply use a food-safe paint brush and brush on the edible dust - it is gorgeous and now I want to luster everything!

The cheesecake is just cheesecake - I used a Martha Stewart Everyday Food app to find a recipe on my phone so that we could bake on vacation.  It was  a classic recipe, so feel free to use your favorite cheesecake recipe.

It turned it out better than I could have imagined!  This is how we do cheesecake Palm Beach-Style!

Wednesday, April 4, 2012

Shelling

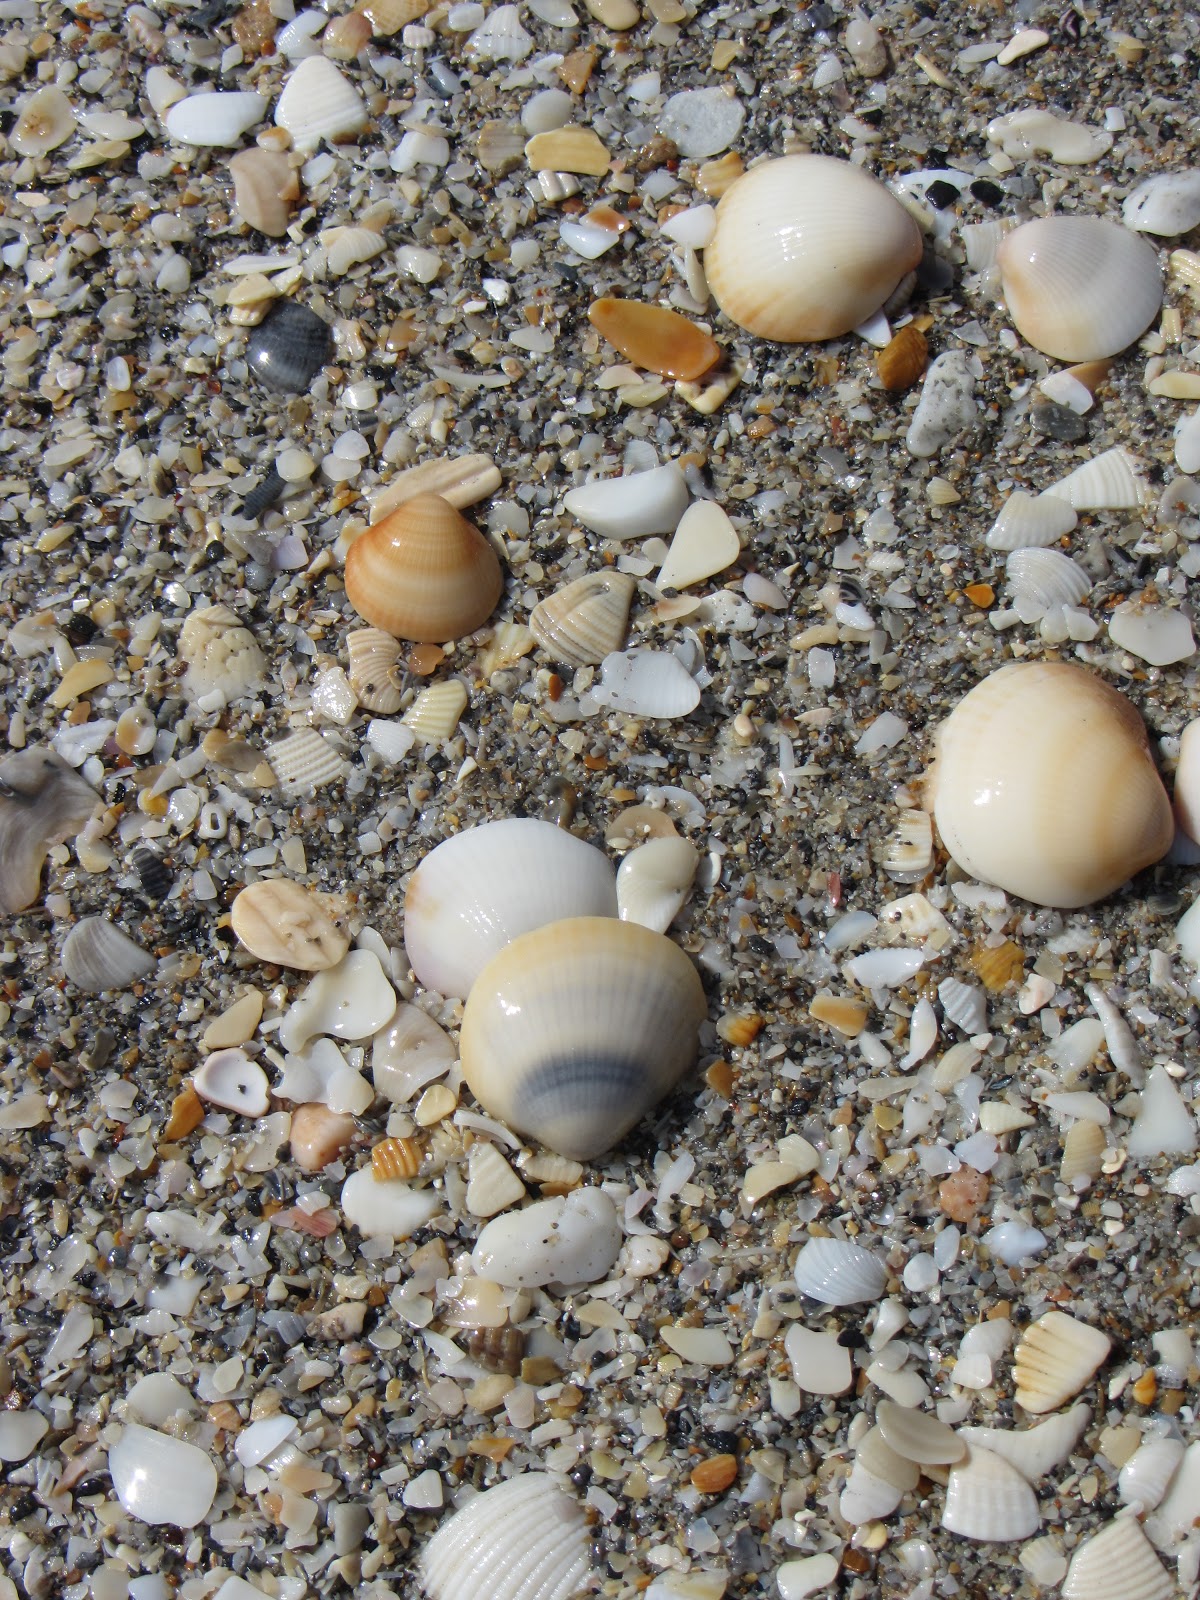
You can really see in this picture the many stages of shells as they break down into sand.

Such an endless mix of shapes and seaside colors, each section is a pretty as the next- I just pointed my camera down and this is what I got.

My favorite is the cream-to-blue shell in the center. Looks a bit like my family room, don't you think? (http://anadesigns.blogspot.com/2008/12/swedish-beach-house-christmas.html)

Tuesday, April 3, 2012

Starfish

I've got stars in my eyes!  I have been looking forward to making ocean-themed candy ever since I saw a display of white chocolate shells in the local market last year.  I tracked down a cake and candy supply store while I was in Florida last year, bought several different chocolate molds and had my first success this week.  Peanut Butter Starfish!

I felt like a genius when I realized that the Wilton peanut butter candy melts would be the perfect color to make realistic starfish!  I just had to melt the discs in the microwave, pour them into the molds and wait for them to set in the freezer.  Voila!  They are perfect, if I do say so myself.

I think Jacques Cousteau would be proud.

Thursday, March 8, 2012

Shell Matches

It was divine inspiration that had me glance at my box of loose shells and imagine the tiny sand dollar glued to the top of a match box.  The natural piece that was too delicate for jewelry, could be perfectly protected on top of a match box.  Shells are everywhere in decorating right now, and adding a touch of the sea makes perfect sense in my aqua and white powder room. 

Ocean-colored soap, lightly scented candle and a sand dollar topped match box. Never underestimate the power of glue.

Saturday, January 14, 2012

Honolulu: Whole Bead Show

Didn't I have fun? The 17th Annual Honolulu Bead Show (whole bead.com) coincided with my trip to Hawaii. This is what you call having the moon and stars align.

My friend Corinne is new to jewelry making (her specialty is sea glass) and we had so much fun looking at the beads, findings and inspiration pieces at the show.

I found some beautiful shell charms and whipped up this beautiful charm necklace and have already worn it to dinner on this trip! I love to make a piece of jewelry and wear it immediately. This is what I call "shell chic!"

Friday, April 1, 2011

Shell Toothpicks and Bacon-wrapped Dates

These toothpicks are almost too pretty to use!  I bought this beautiful set of (real!) seashell-topped toothpicks at a little shop in Florida and I can't wait to put them out at my next little party.  The WONDERFUL news is now I can direct you to a place online to buy shell-topped toothpicks for your house! One of my favorite places now offer shell-topped toothpicks - get some at Fancy Flours today. 

I am planning on serving bacon-wrapped dates as a hearty appetizer.  This appetizer is always a hit - each bite is sticky, sweet, salty and savory all at once! 

Bacon-wrapped Dates

You cut a slice of raw bacon into 3 equal pieces (2-3 inches long) and then wrap each piece around a whole pitted dried date.  Place the seam side down on a slotted broiler pan - be sure to have the broiler pan base on as well to catch the drippings.  The dents in the pan are perfect for resting each date in, seam side down, this will keep the bacon snug around the date.  (*If the bacon starts to unfurl, give in a use a standard toothpick to secure.)

Broil a few minutes and then, using tongs, turn each date over and broil on the other side until the bacon is completely cooked - approx 4 minutes on each side.

Arrange the bacon-wrapped dates on a small ceramic dish and serve with shell topped toothpicks for an appetizer that is beautiful, interesting and delicious!

Tuesday, March 22, 2011

White Chocolate Shells

Has the shore ever looked so sweet?  I have fallen for these white chocolate shells that I saw in the bakery of the Publix Greenwise Market.  Aren't they charming?

I was just at Sugar Craft (a cake & candy supply store in Cincinnati) admiring their wall of beautiful chocolate molds and now I am sending you to them with a link!  I bought several outstanding molds that day (stay tuned - Spring is going to be great!) and now I can recommend shell molds at Sugar Craft too.  I think the finishing touch is dusting the chocolates with pearl dust.  I can't wait to get these molds and make these edible shells for myself! 

Saturday, February 19, 2011

Sand and Surf

Today was a gorgeous day and I spent the afternoon sitting in a beach chair at the edge of the surf.  What could be more "delightful" than staring out at the ocean while the waves wash over my toes?

Although my fellow sun worshipers thought I looked odd holding my camera perfectly still off to the side of my beach chair for minutes on end, I got the result I needed.  Just look!  This is what I wanted to show you.

Three perfect shells about to be drenched in the surf.

Saturday, January 16, 2010

Go to the Coast

I love that items and elements from "life on the shore" are becoming popular touches in interior design. Keep your eye out and I think you will notice this more and more.

Framed shell images, heavy white "coral" pieces for display on a bookshelf, even shells themselves to fill a vase or arrange on a table.

My weakness is shell-covered boxes - I practically have a collection by now and I think that they are gorgeous! I'll photograph one soon to show you.

The next time you are looking for something to add interest to your living room...go to the coast.

Friday, March 6, 2009

She Sells Sea Shells

There is an almost blase feeling about shells in Florida. The sweet shops and juice stands are overflowing with so many gorgeous specimens that they are often heaped in baskets or bins.

But once you get them on their own, they absolutely sing. I took my time last year and selected these 3 perfect shells: a Pencil Starfish, Sand Dollar and a Lavender Sea Urchin. What a display...I can't wait for my peonies!

If you ever want to try crafting with shells (like making a picture frame or sailor's valentine), check out Marian McEvoy's book, Glue Gun Decor. I promise you will be inspired.

Thursday, March 27, 2008

The Shell Seekers

Earlier this month, I wrote about making a shadow box to display your shell collection and I titled it "Shell Seekers."

So many friends said, "Oh...The Shell Seekers!" knowing that it is one of my favorite books by Rosamunde Pilcher.

Have you read it? It is set in Cornwall, England and spans a family over 3 generations. It is filled with love, family lore and friends stopping by for tea. 

I always tend to reread it in March when I am longing for the garden and picnics on enamelware plates. In one of the opening scenes, Penelope Keeling straightens the kitchen after breakfast and then heads out into the garden to check on her roses. It is my kind of fiction! 
I'm including a photo from my shell seeking. Can you see the white shell near the bottom that is filled with bubbles from the last ocean wave? So pretty.