I was thrilled to attend my first Garden Fling this past weekend! The Fling is an annual meetup of garden social media personalities (bloggers, Instagrammers, YouTubers, video-makers, podcasters, garden writers) from all over the country. This year they came to the Puget Sound Region to tour gardens, network with one another and marvel at plants and their positioning.It was exhausting and exhilarating. I had intended to post a few pics and videos to @FindDelight along the weekend but the Wi-Fi wasn't great and as always, I chose to talk to people rather than look at my phone. So now we all have the monumental task of sorting through for the best shots from thousands of photos to summarize the fun. It was awesome and I will enjoy re-living it all as I share my 1st Fling experience with you. I can't overstate how lovely it is to arrive at an event knowing maybe 10/100 people and slowly meeting, sharing stories, experiences, and realizing that we all have so much in common. I felt very welcomed.
I try not to make a big deal about it, but I have a brittle bone disease (which means I fracture my bones easily and my joints and muscles aren't strong) and big bus trips and walking on uneven ground (= all gardens) is more than a little risky for me. But I can't sit home; I need to keep participating and when I need to alter a situation or sit something out, I do. Well I was so excited to see these incredible gardens and meet these extraordinary plants-people, I was going! I must tell you that this group was fantastic. Very sweet. Very supportive. They didn't know me from Adam, but they could tell that I needed a little help now and then. Was it me pushing the wheelchair for support that clued them in? Or maybe it was my ankle braces that gave me away? Different people offered a hand or took my bag before I climbed into the bus. One dear person said, "If you decide you want to ride in that thing, I'll push you, no big deal." Just having that safety valve made the day go easier for me, I think. My friend Erica had already told me she was there for me, but having a stranger chime in was very reassuring.
Today's mention of delight is about being someone's safety valve. Can you offer someone assistance even if they probably aren't going to take you up on it? Sometimes knowing that someone could help gives an emotional boost. It helps take some of the pressure off.
Okay, back to this amazing Garden-centric Event. I want to say a big thank you to Camille Paulsen & Paula Rothkopf, the 2024 Garden Fling Organizers. The event was jam-packed with garden content. Bravo.
I want to share the itinerary, so you know what I will be posting in the upcoming days.
Thursday July 18 (Tacoma):
Evening Welcome Reception at Farrelli's Pizza at Point Ruston (rooftop view of the South Sound waterfront on a gorgeous night)
Friday July 19 (Vashon Island):
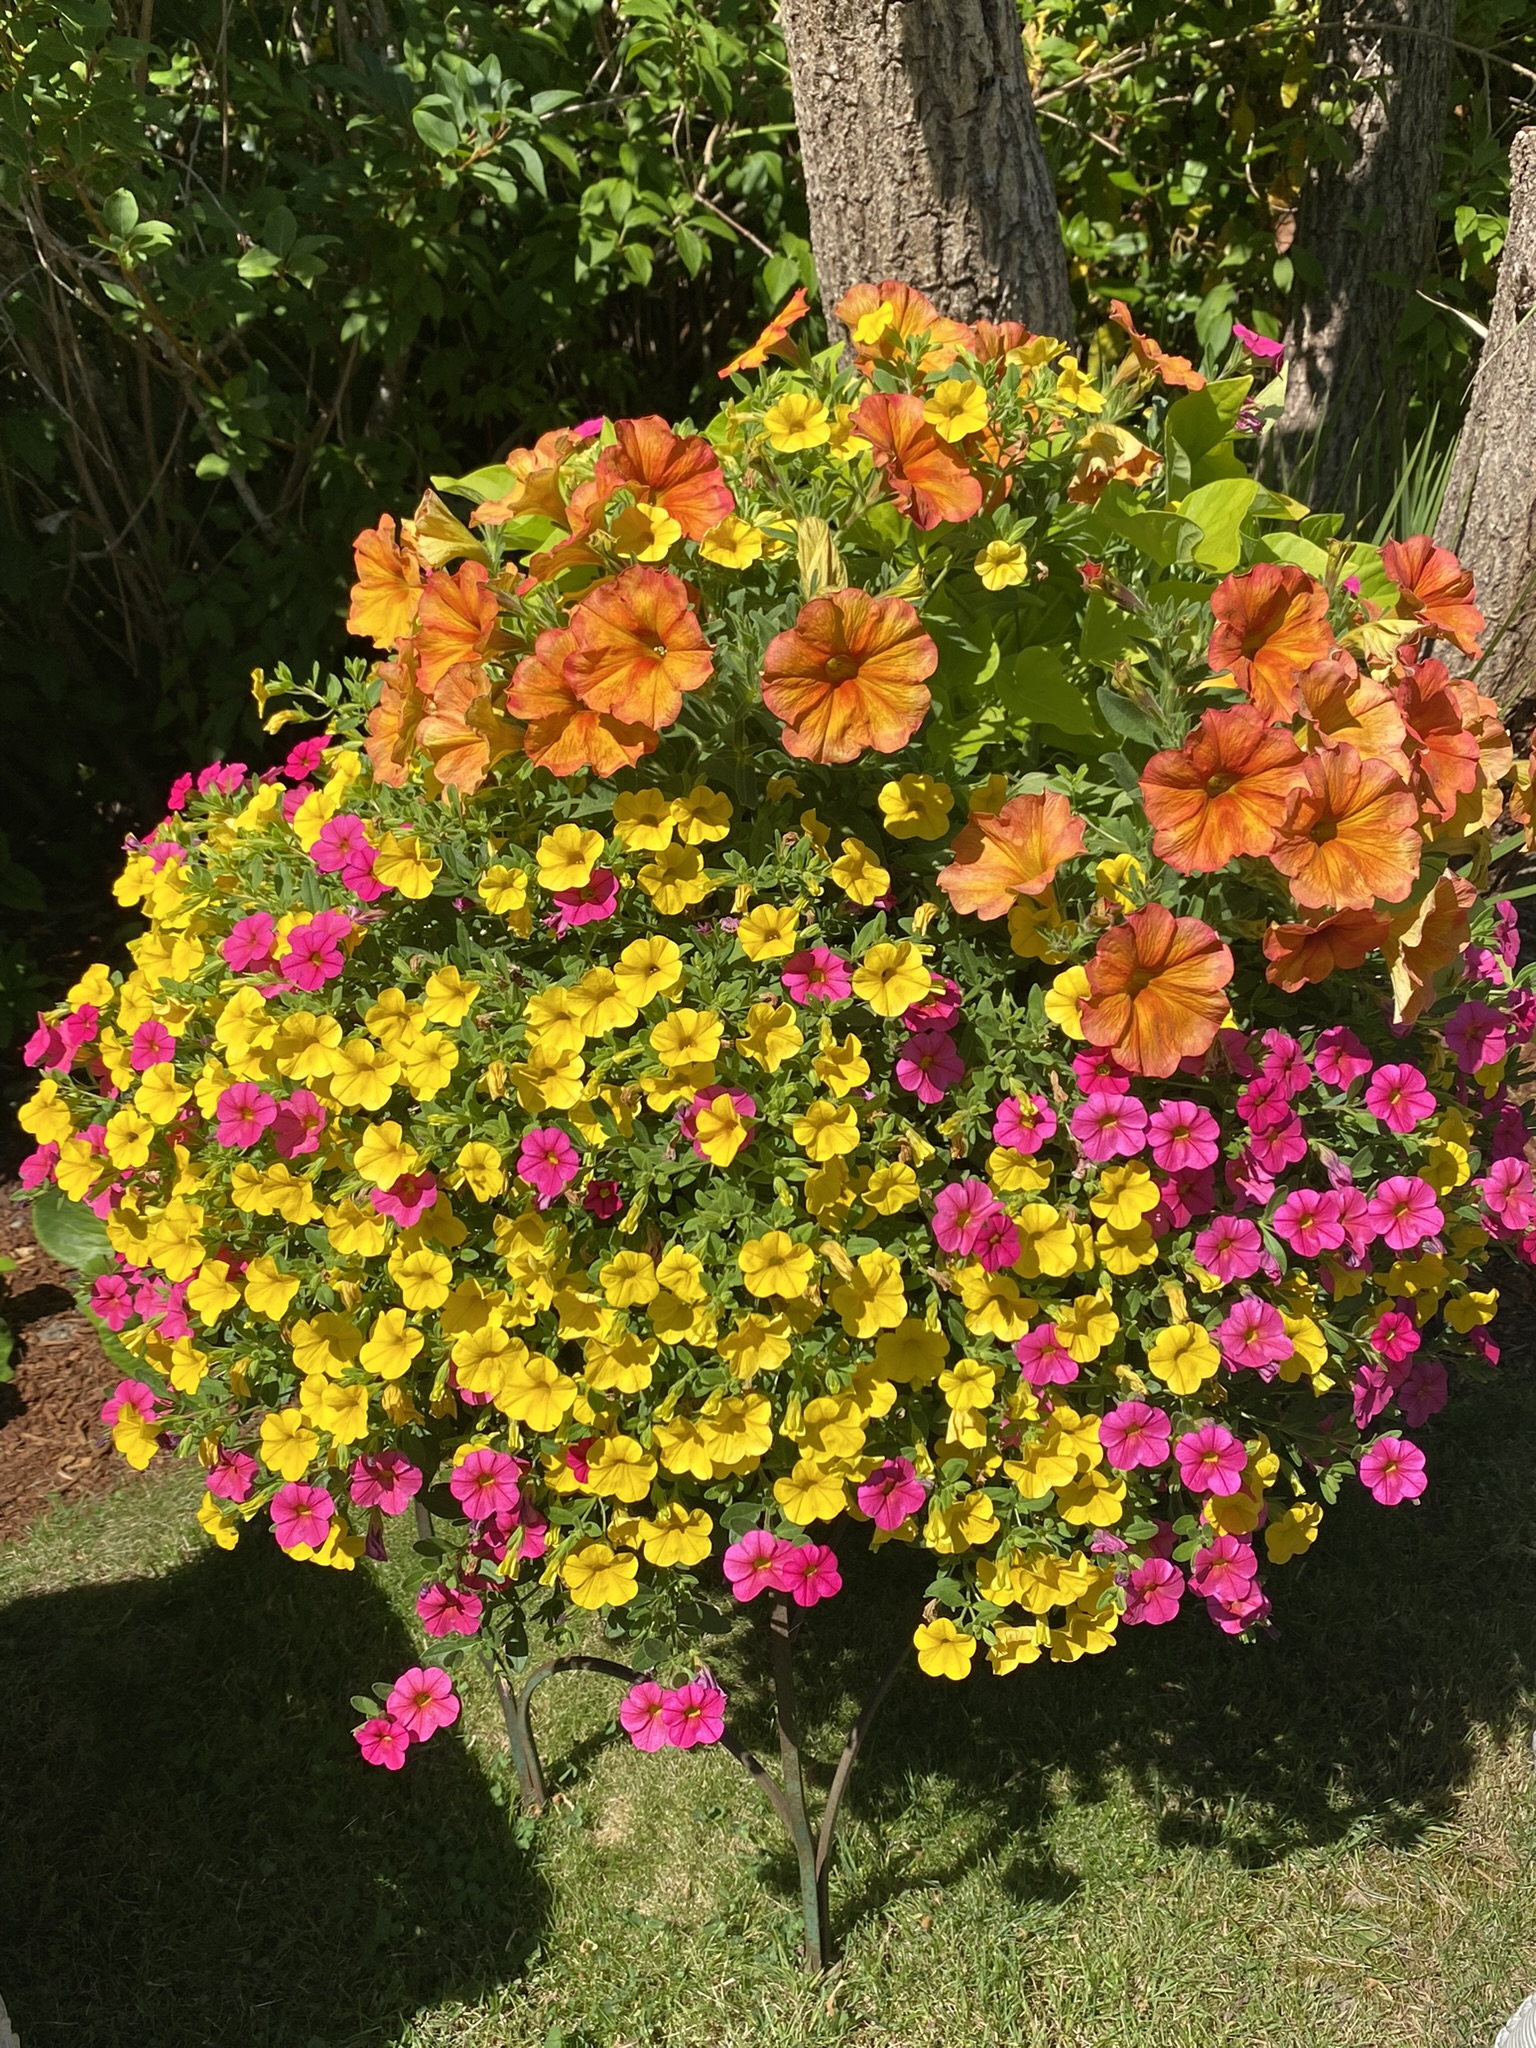
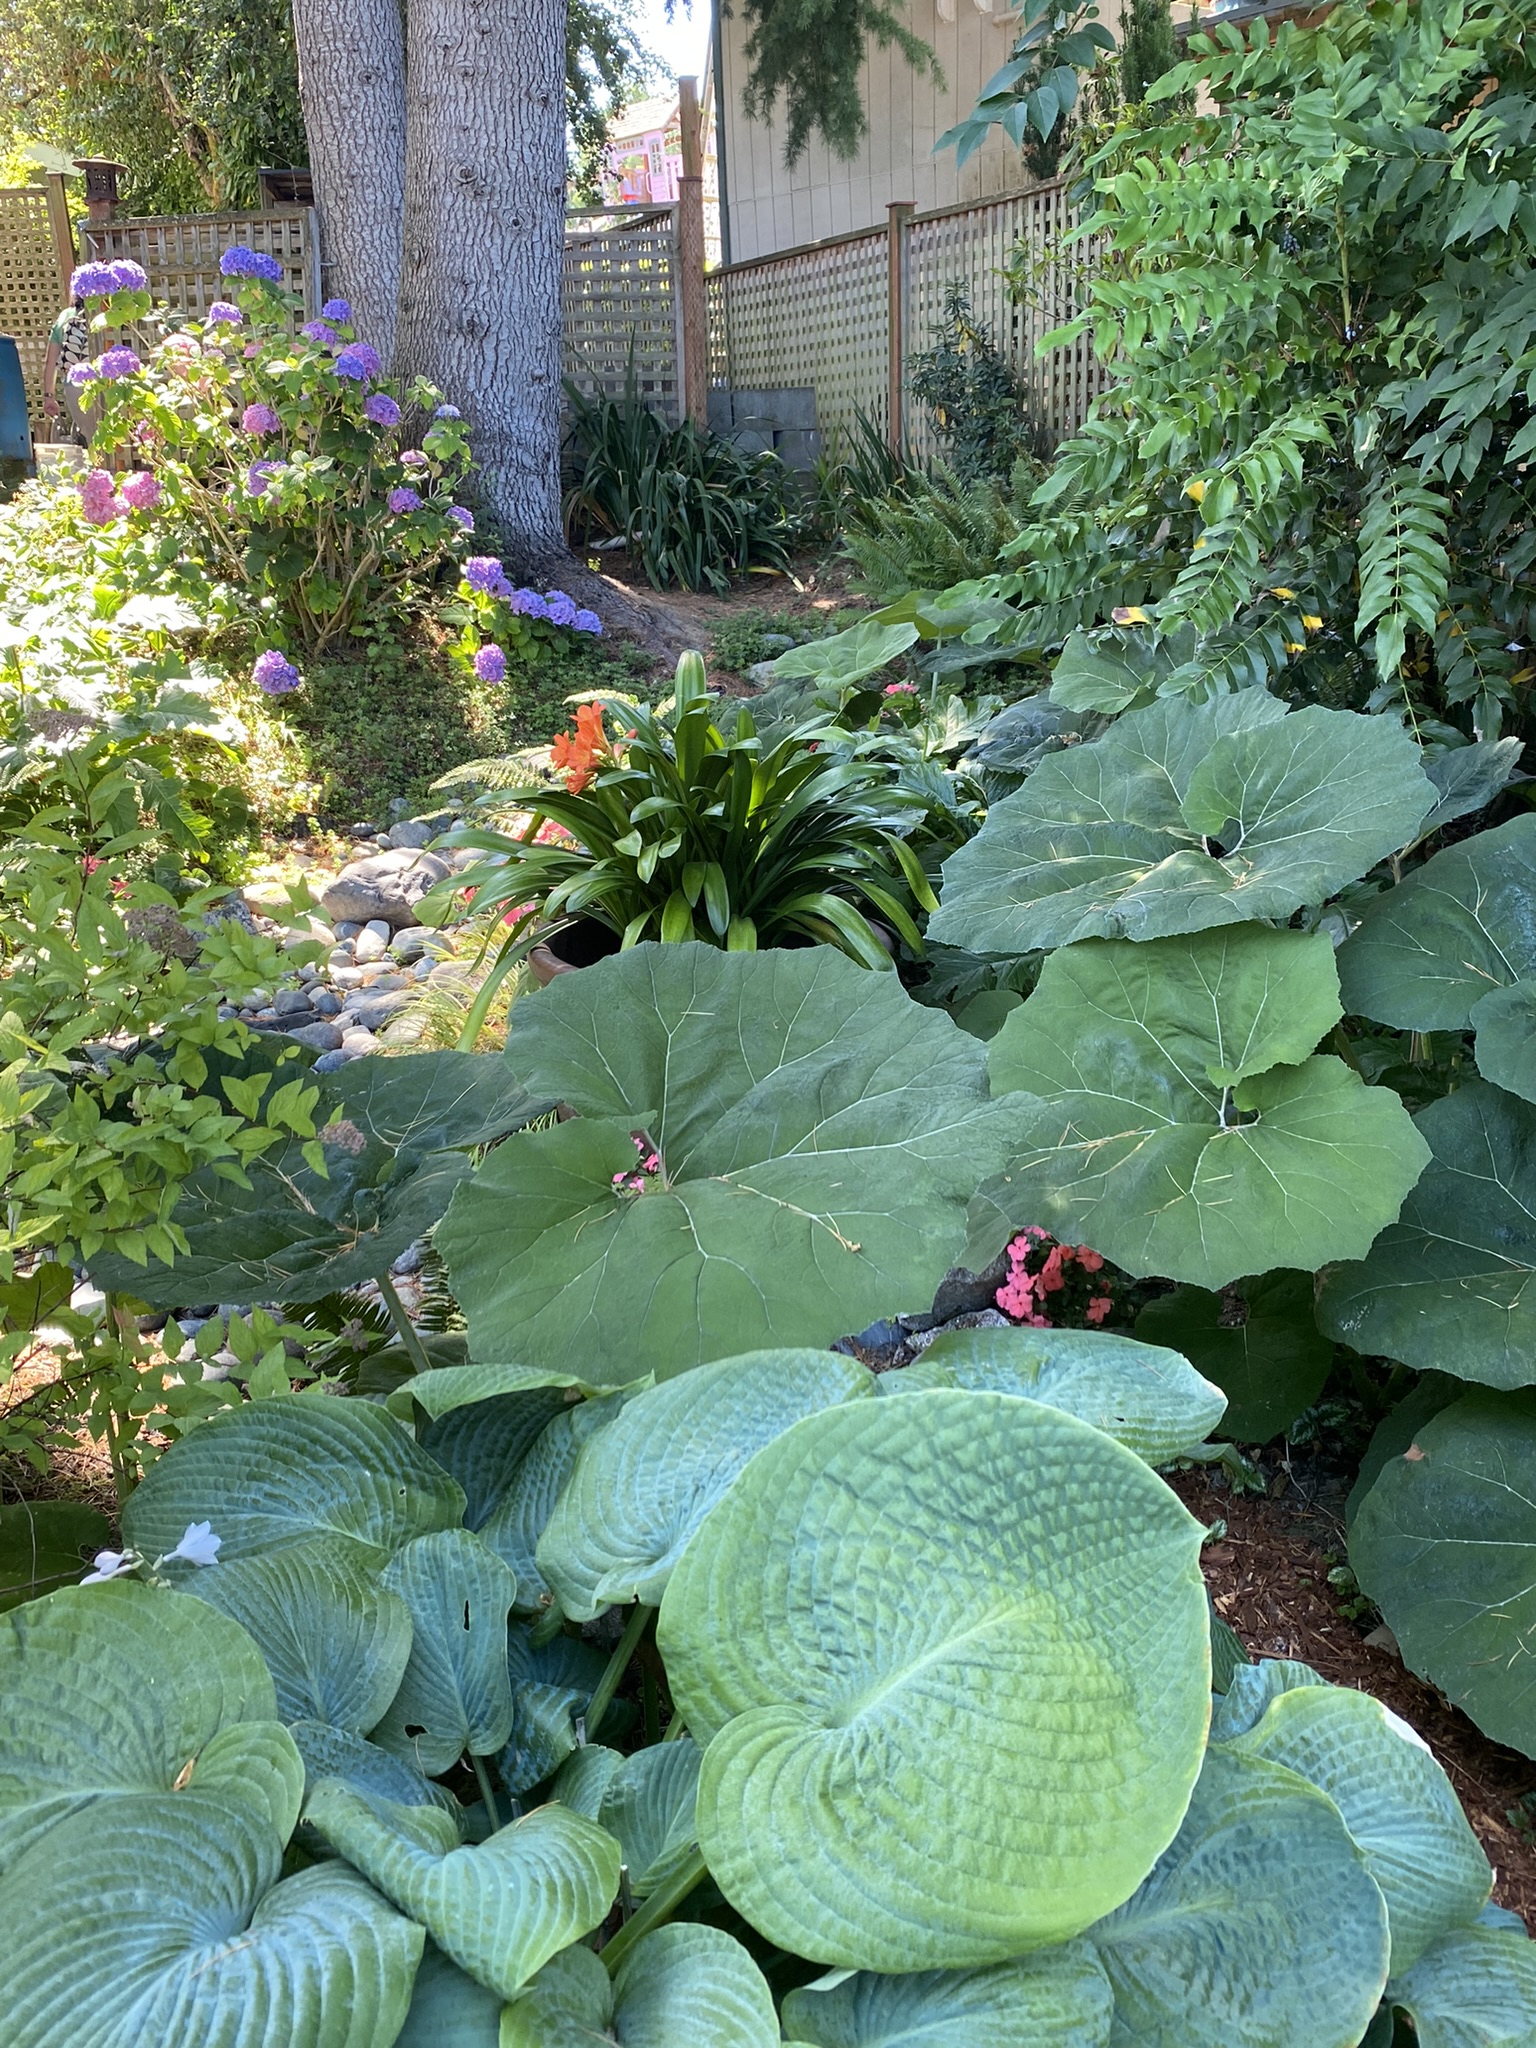
Ferry to Vashon Island: Carhart Garden, Halstead/Robinson Garden, Froggsong Gardens & Lunch; Ferry back to Seattle: Point Defiance Park, Gray Garden & Happy Hour
Saturday July 20 (South Sound):
Rhododendron Species Botanical Garden, Pacific Bonsai Museum, Anderson Garden, Risdahl-Pittman Garden, Lunch at Sorci's Italian Cafe, Sage/Richards Garden, Paulsen Garden, Banquet at Lakewold Gardens.
Sunday July 21 (Kitsap Peninsula):
Heronswood, Heckler Garden, Brindley Garden, Windcliff (Home Garden of famed plantsman Dan Hinckley)
I also want to share that in an Instagram post after the Fling, Angela Judd of @growing.in.the.garden very generously shared all of The Fling attendees Instagram handles. She effused that gardens and growing was an enormous topic and that there was room in this online writing space for everyone and she wanted her audience to know about all the great people she had met. What a lovely thing to do.
I find that I have more readers here on my blog, so I am following her lead and posting all of the participants below. Please look them up - I know these individuals to be very knowledgeable and very kind.
@thegardenfling
@growing.in.the.garden
@shady_acers
@5th_ave_flower_farm
@laughinggoatflowerfarm
@garden.girl.seattle
@fashion_plants
@heathra_t
@mulchmaid
@digsportland
@fuchsiarius
@greatgrowalongevent
@lindawisneroregon
@lois.moss.garden.tours
@lawnifi_chs
@experiencememphisgardens
@tahomaflora
@emilygjoseph
@acozzigarden
@beeskneesdesignllc
@prettypurpledoor
@pamdigging
@pilarysusplantas
@CreativeGardener
@cascadia.kitchen
@gardenrevelry
@gardeningwhileold
@bonneylakeplantlady
@GreenArtisans
@hellogardendesign
@boltlandscapedesign
@americansinthegarden
@succulentsandmore
@microbotanica
@kayess100
@floradoragardens
@krispeterson591
@mikesurbangarden
@michellederviss
@Tz_Garden
@musabasjoosue
@GardensByBecca
@Southern_Meadows
@gardeningintherockies
@thecapturedgarden
@angelinapepperoni
@Bold_North_Home
@gardenrant
@Gardenfix
@janetspaintbox
@thegardeningme
@ovanna11
@GreenArtisans
@dangergarden
@chickadeegardens
@flower.sommelier.dotcom
@wyattemig
@glen_villa_garden
@janetledebuhr
@crescentgarden
@gailaeichelberger
@grwhryrpltd
@cat_jones_atx
@dianasdesignsaustin
@jean_mcweeney
@avrilingram
@pegplant
@FindDelight
@annettespnwgardenlife
@olygardenaddict
@ebgrivas
@joanie_reveleleven
@kendallsgreenhouse
@mauryterracegardens
@sound_gardener
@camano_island_gardening
@nutsfornatives
@CobraHead
@foodflowersfabric
#gardenfling2024 #pugetsoundfling #pugetsoundgardens


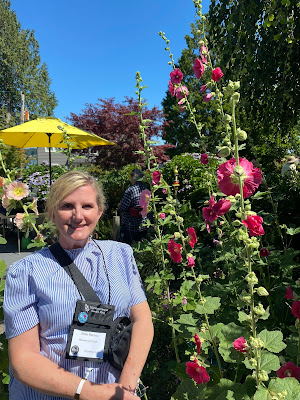 Real live holly hocks! Here I am posing with some celebrities.
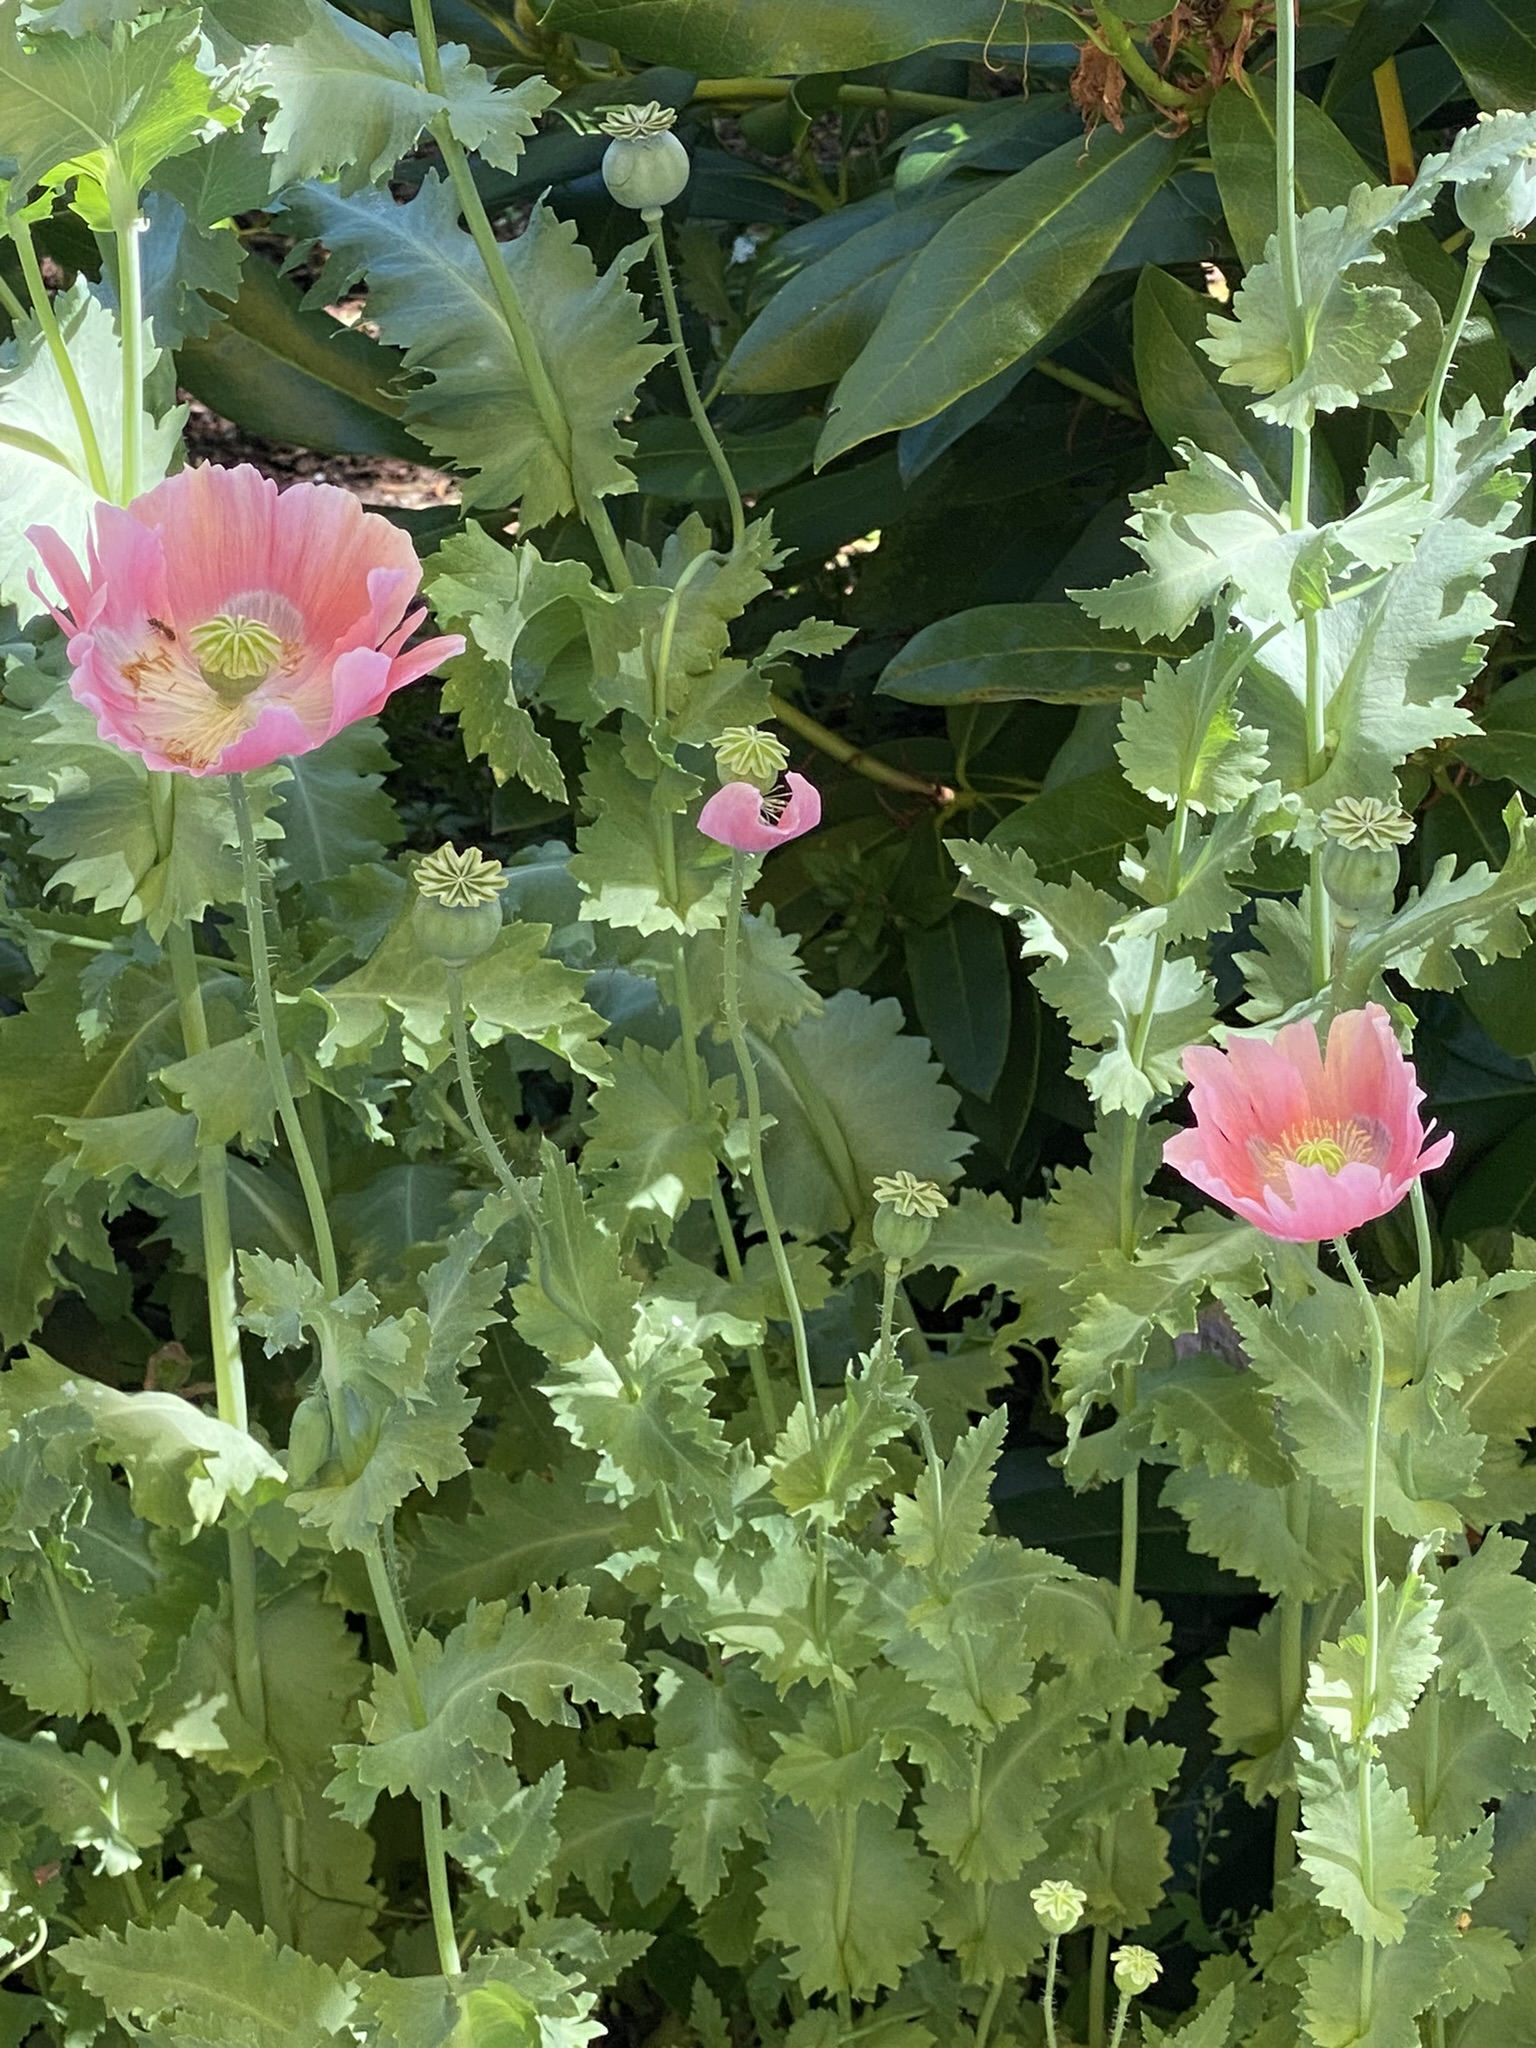
 This island garden had the charm of an old fashioned story, highlighted with an artist's touch here and there. We were lucky to be able to absorb the delights of this Vashon island garden. Chess anyone?


.JPEG)


